New entertainment center
2023-04-28
I just completed my most ambitious carpentry project to date: I designed and built a new custom semi-modular entertainment center for our living room.
Background
Our last entertainment center was also designed and built by me as one of my first big woodworking projects – and I mean big. It was something like 74" wide and 30" deep, and had a full frame built out of 2x4s. The shelves were measured once and cut four times, permanently affixed to the frame by wood glue and nails, and made from budget-grade plywood. While it was sturdy enough to dance a jig on, it was overkill – and poorly made. My PS2 didn’t properly fit in any of the cubbies, and I designed the stand in 2018!
Design
I suck at visualizing things, so step one was for me to design a 3D model. I spent a lot of time iterating on this design and incorporating feedback from my wife, housemate, dad, and anyone who could spare a few cycles.
I intended from the start to make something with these constraints, many derived from issues with my past construction:
- Fits in the corner.
- Modular: if I want to add space for another console, it should be (a) possible; and (b) straightforward.
- Reduce wasted space. We recently got additional seating for our living room, so I wanted to claw back as much space as I could.
- Sized to fit any console I could imagine.
- Built with attention to detail.
A few things I decided early on. I wanted to use shelf pegs to make for adjustable shelves. I wanted to go with the classic “L” shape for the corner. I didn’t need nearly the robust frame I’d had in my previous design. The TV could go on the wall, meaning I didn’t need to specially account for fitting it on the stand. The AV receiver needed to fit in the bottom center. And finally, I wanted to make more use of vertical space. The last design was 28" tall. This would end up being 36".
Materials
Most of my earlier projects had been made with 2x4 studs. Since I don’t have access to any decent tools for squaring them up, it created a very sloppy look that I hated and wanted to avoid. So I decided to go with presquared lumber. I also knew that I wanted to use higher-quality plywood for the shelves. The shelves in the old design were very rough after finishing and this made it hard to dust.
So I set out to find the following:
- 2x4 for the front center legs
- 4x4 for the back corner leg – extra stability
- 2x2 for the remaining legs
- 3/4" plywood for the top and bottom
- 1/2" plywood for the shelves
On a trip to my neighborhood lumberyard, I was able to find some very nicely sawed red oak dimensional lumber in all the sizes I needed. Ez.
Then, looking through plywood, I also happened to find some nicely faced red oak sheets. So I grabbed a 4’x8’ sheet in each thickness, and away we went!
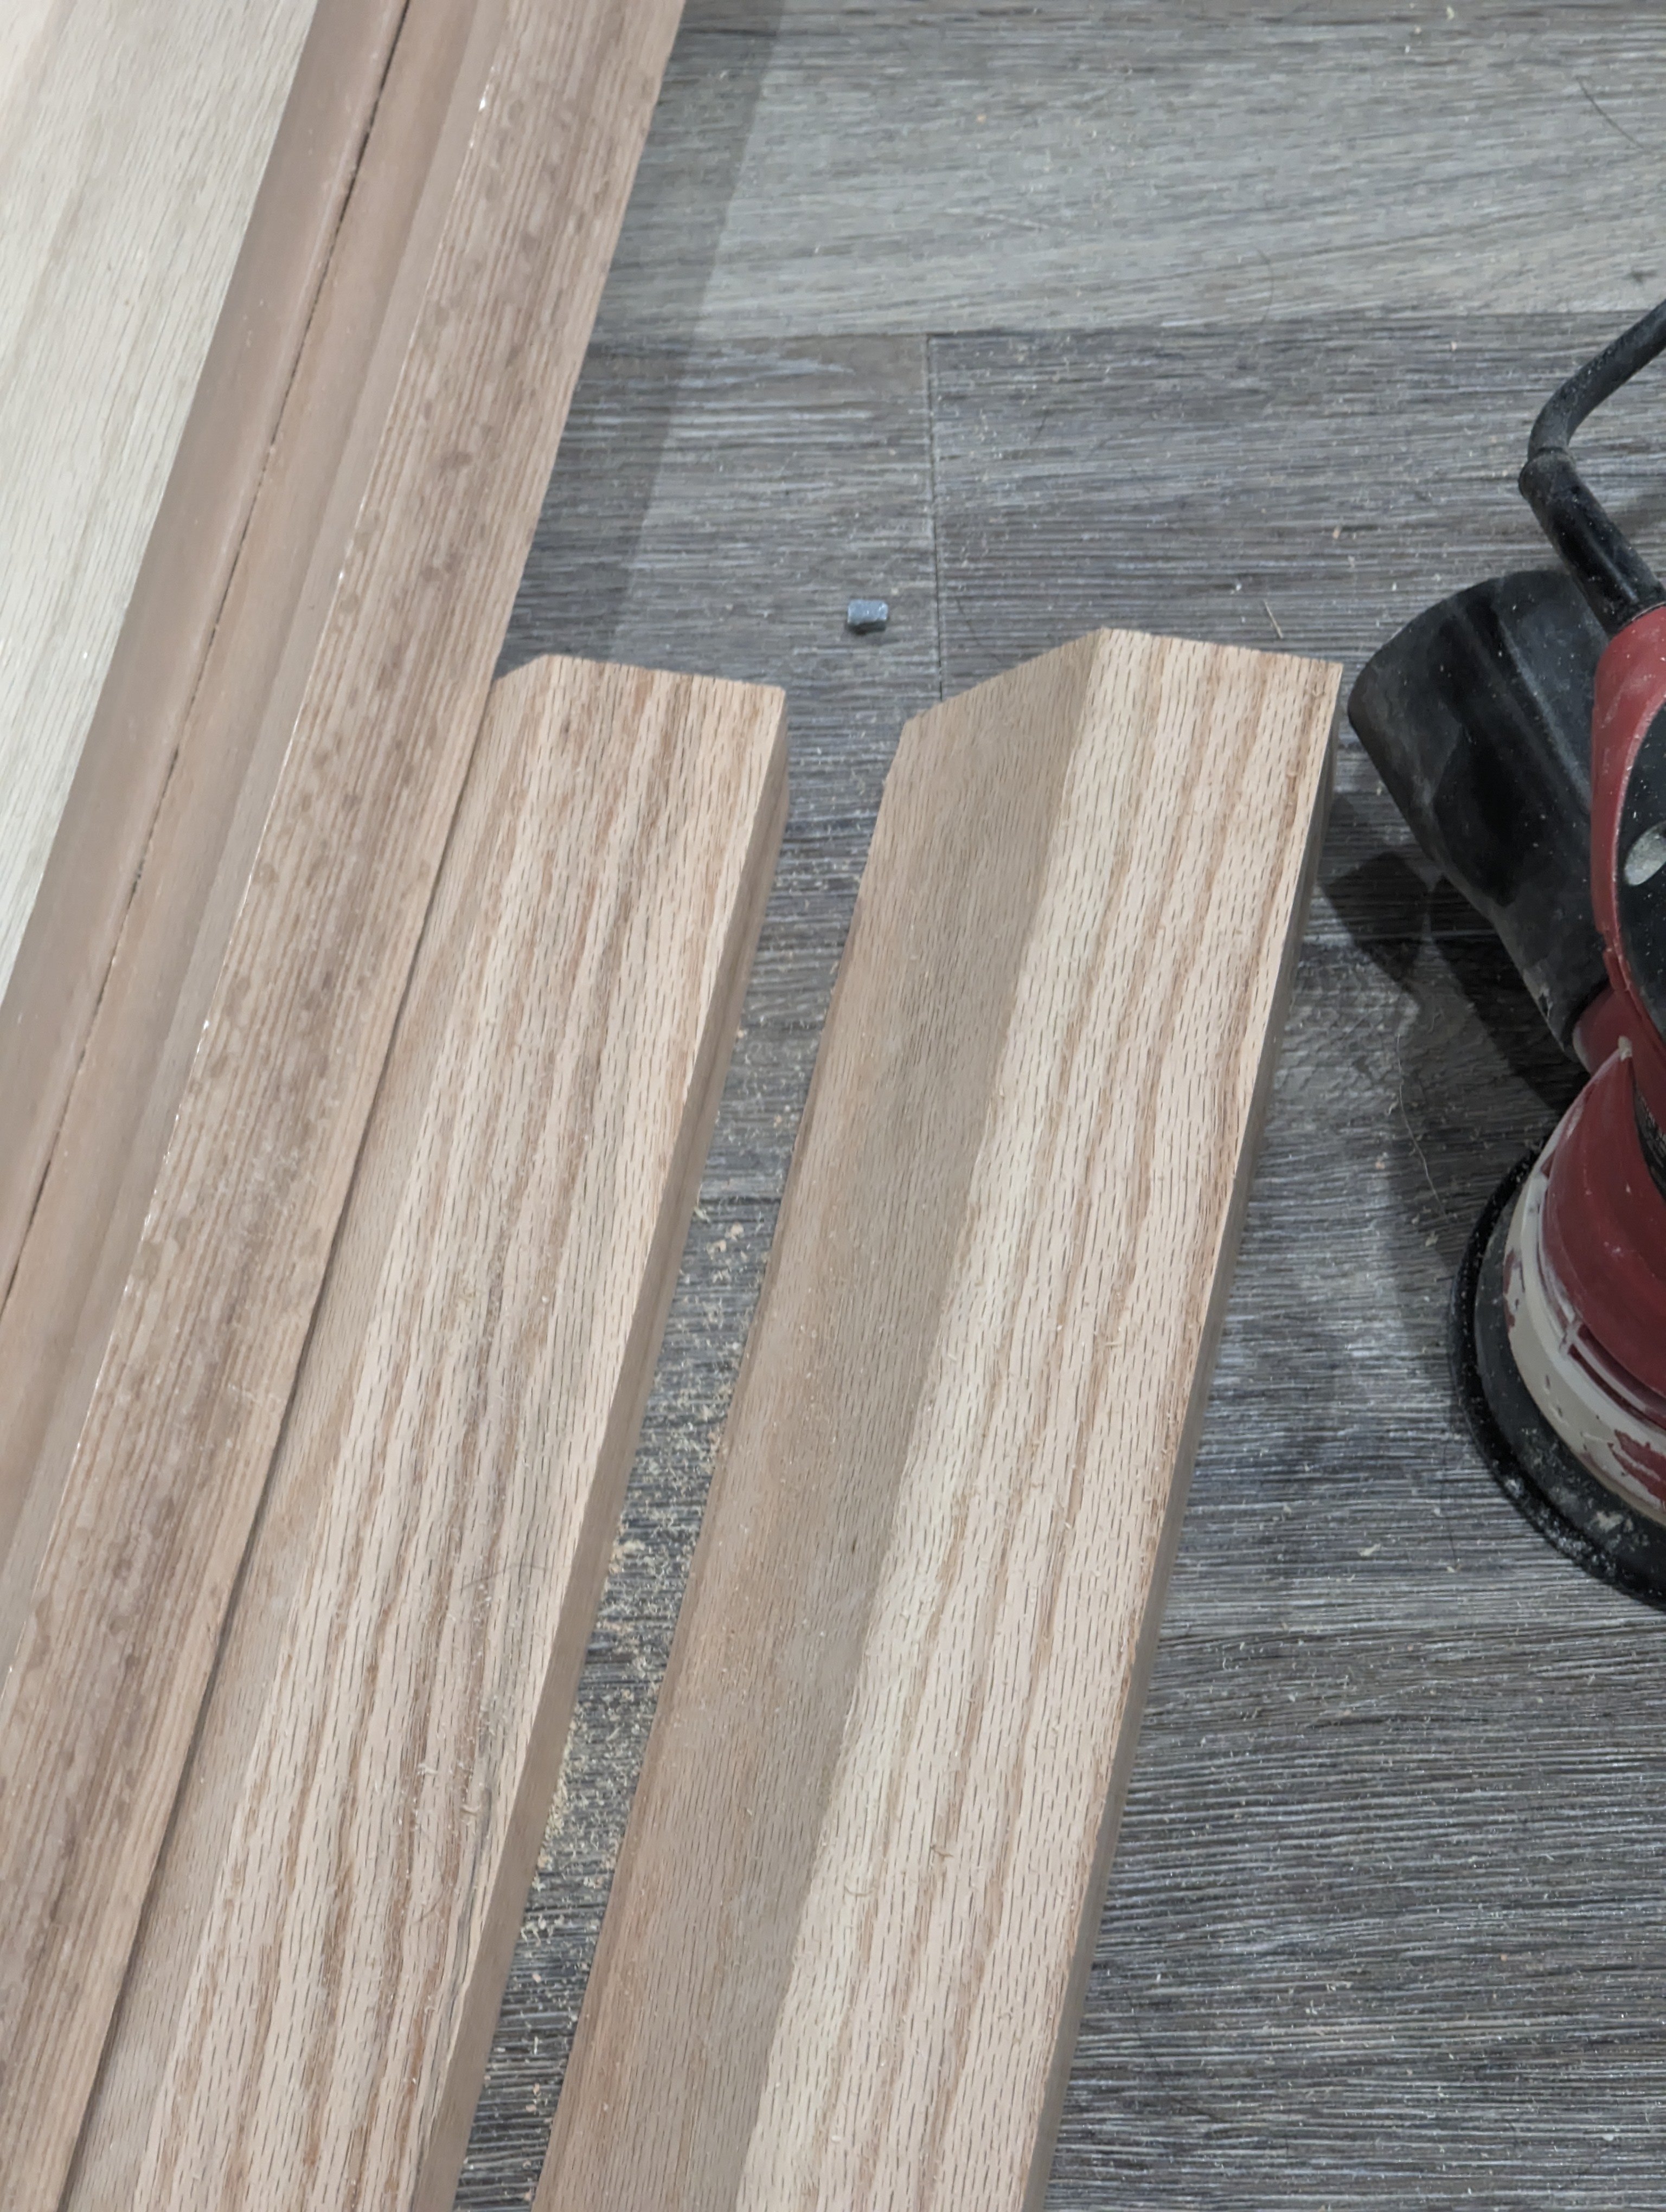
Cutting
While I was excited for this to be my first major project in my own shop, I knew there was one cut that I couldn’t safely and accurately make. So I took the 2x4s over to my dad’s woodshop. I used his table saw to cut the 45° angle in the front legs and then set them aside for later.
Next, I cut all the legs. I set a clamp on my new miter saw to the exact length I needed, and cut all 9 legs in one sitting to ensure that they all were the exact same length.
I decided to save construction of the shelves until after the stand was otherwise assembled – in case there were minute differences in designed measurements vs reality. This was a smart decision.
Finally, cutting the top and bottom. This was a challenge, as the rip cut jig
I have for my circular saw only extends to 24", and we needed to cut the 4’x8’ plywood sheet in half longways (48"). To solve this, I measured the offset of the
circular saw blade from the side of the saw, and clamped a straightedge at 48 - $offset.
Then, with the more manageable pieces, I carefully measured the straight portions and used a chalk line to mark the cut and where the cut stopped. Once I had those points, I was able to use those two points to line up the chalk line and mark out the slanted center portion.
With everything measured and marked, I used the rip cut jig to cut the straight portions up until the slanted edge. I did that on both sides first. Then, I very carefully – and with room for error later – dropped my circular saw in at the slanted line and free cut til I hit the straight-cut line. I cut the last little bit with a hand saw to avoid accidentally sawing into the workpiece.

Rough-cut top piece
Then, I clamped a straightedge along the slanted chalk line, and got out my router with a flush cut bit. Following the straightedge, I got the slanted edge to where I wanted it. I finished up the corner with some sanding.
I repeated a similar process to get the top piece rough cut, and then routed it flush with the bottom piece.
Finally, I put a roundover on the top, and lightly rounded the corners by hand with a sanding block. My wife helped me finish sand the top and bottom.
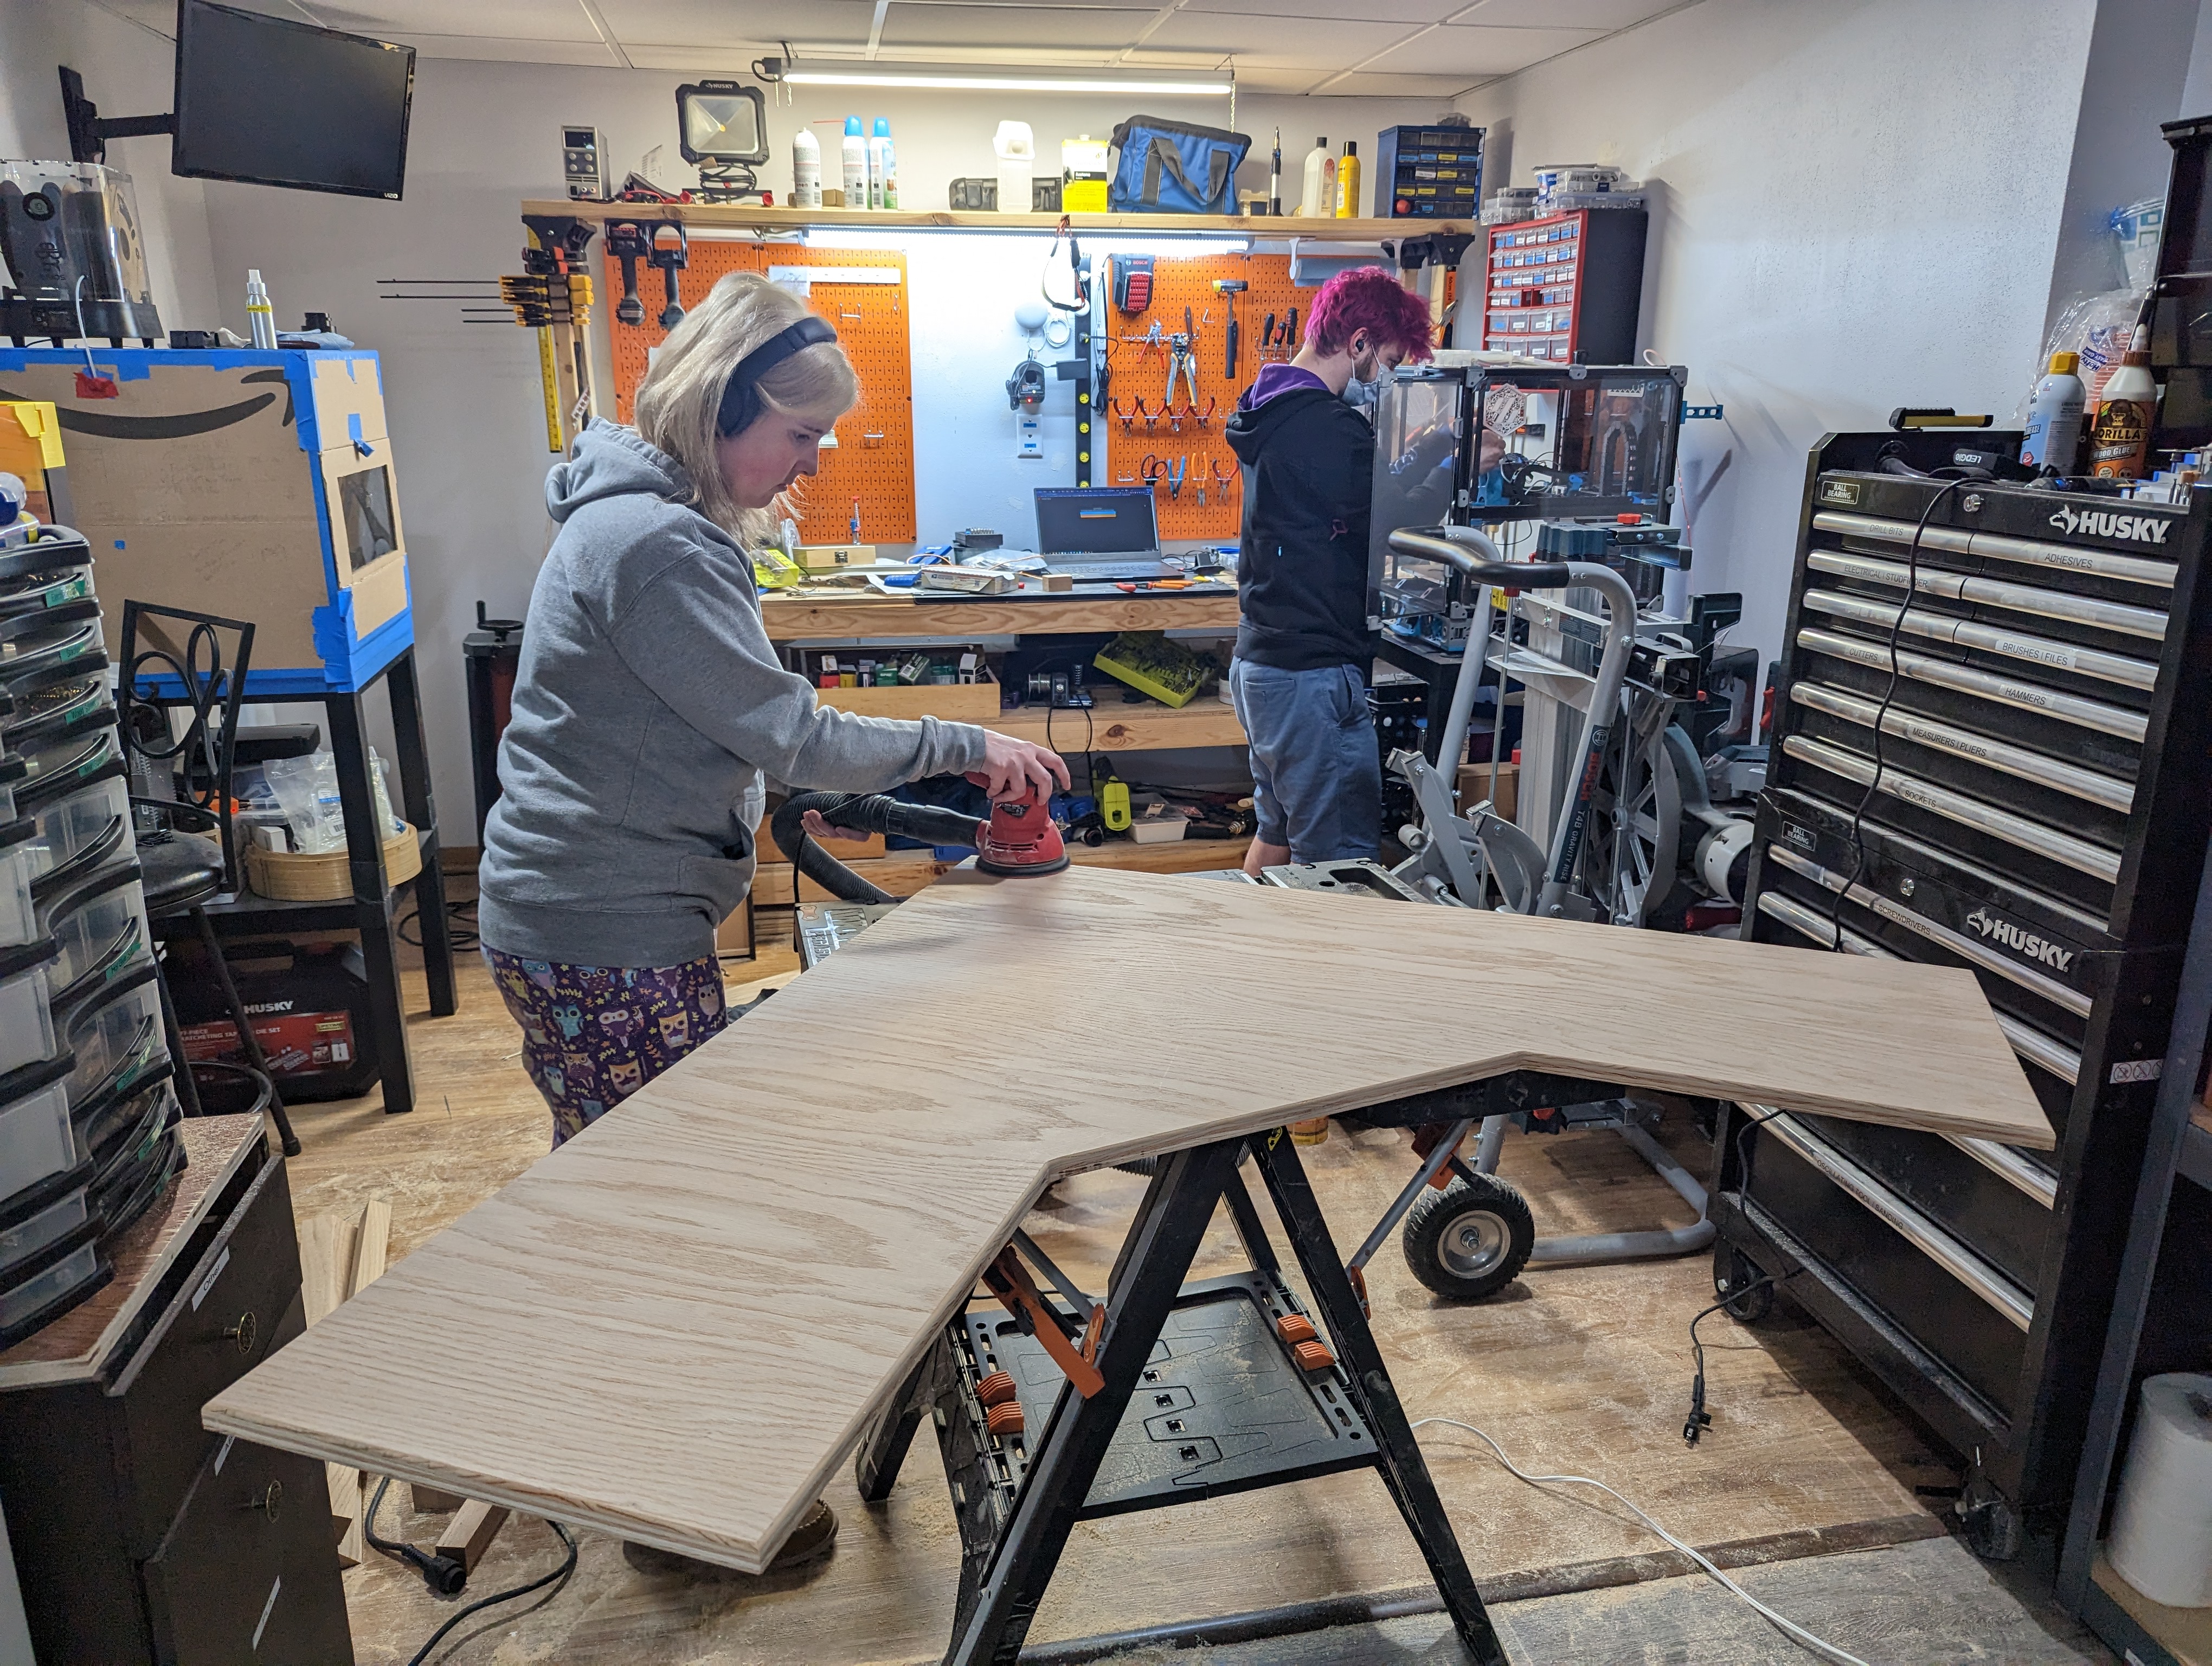
My lovely wife sanding the top with roundover already applied
Color selection
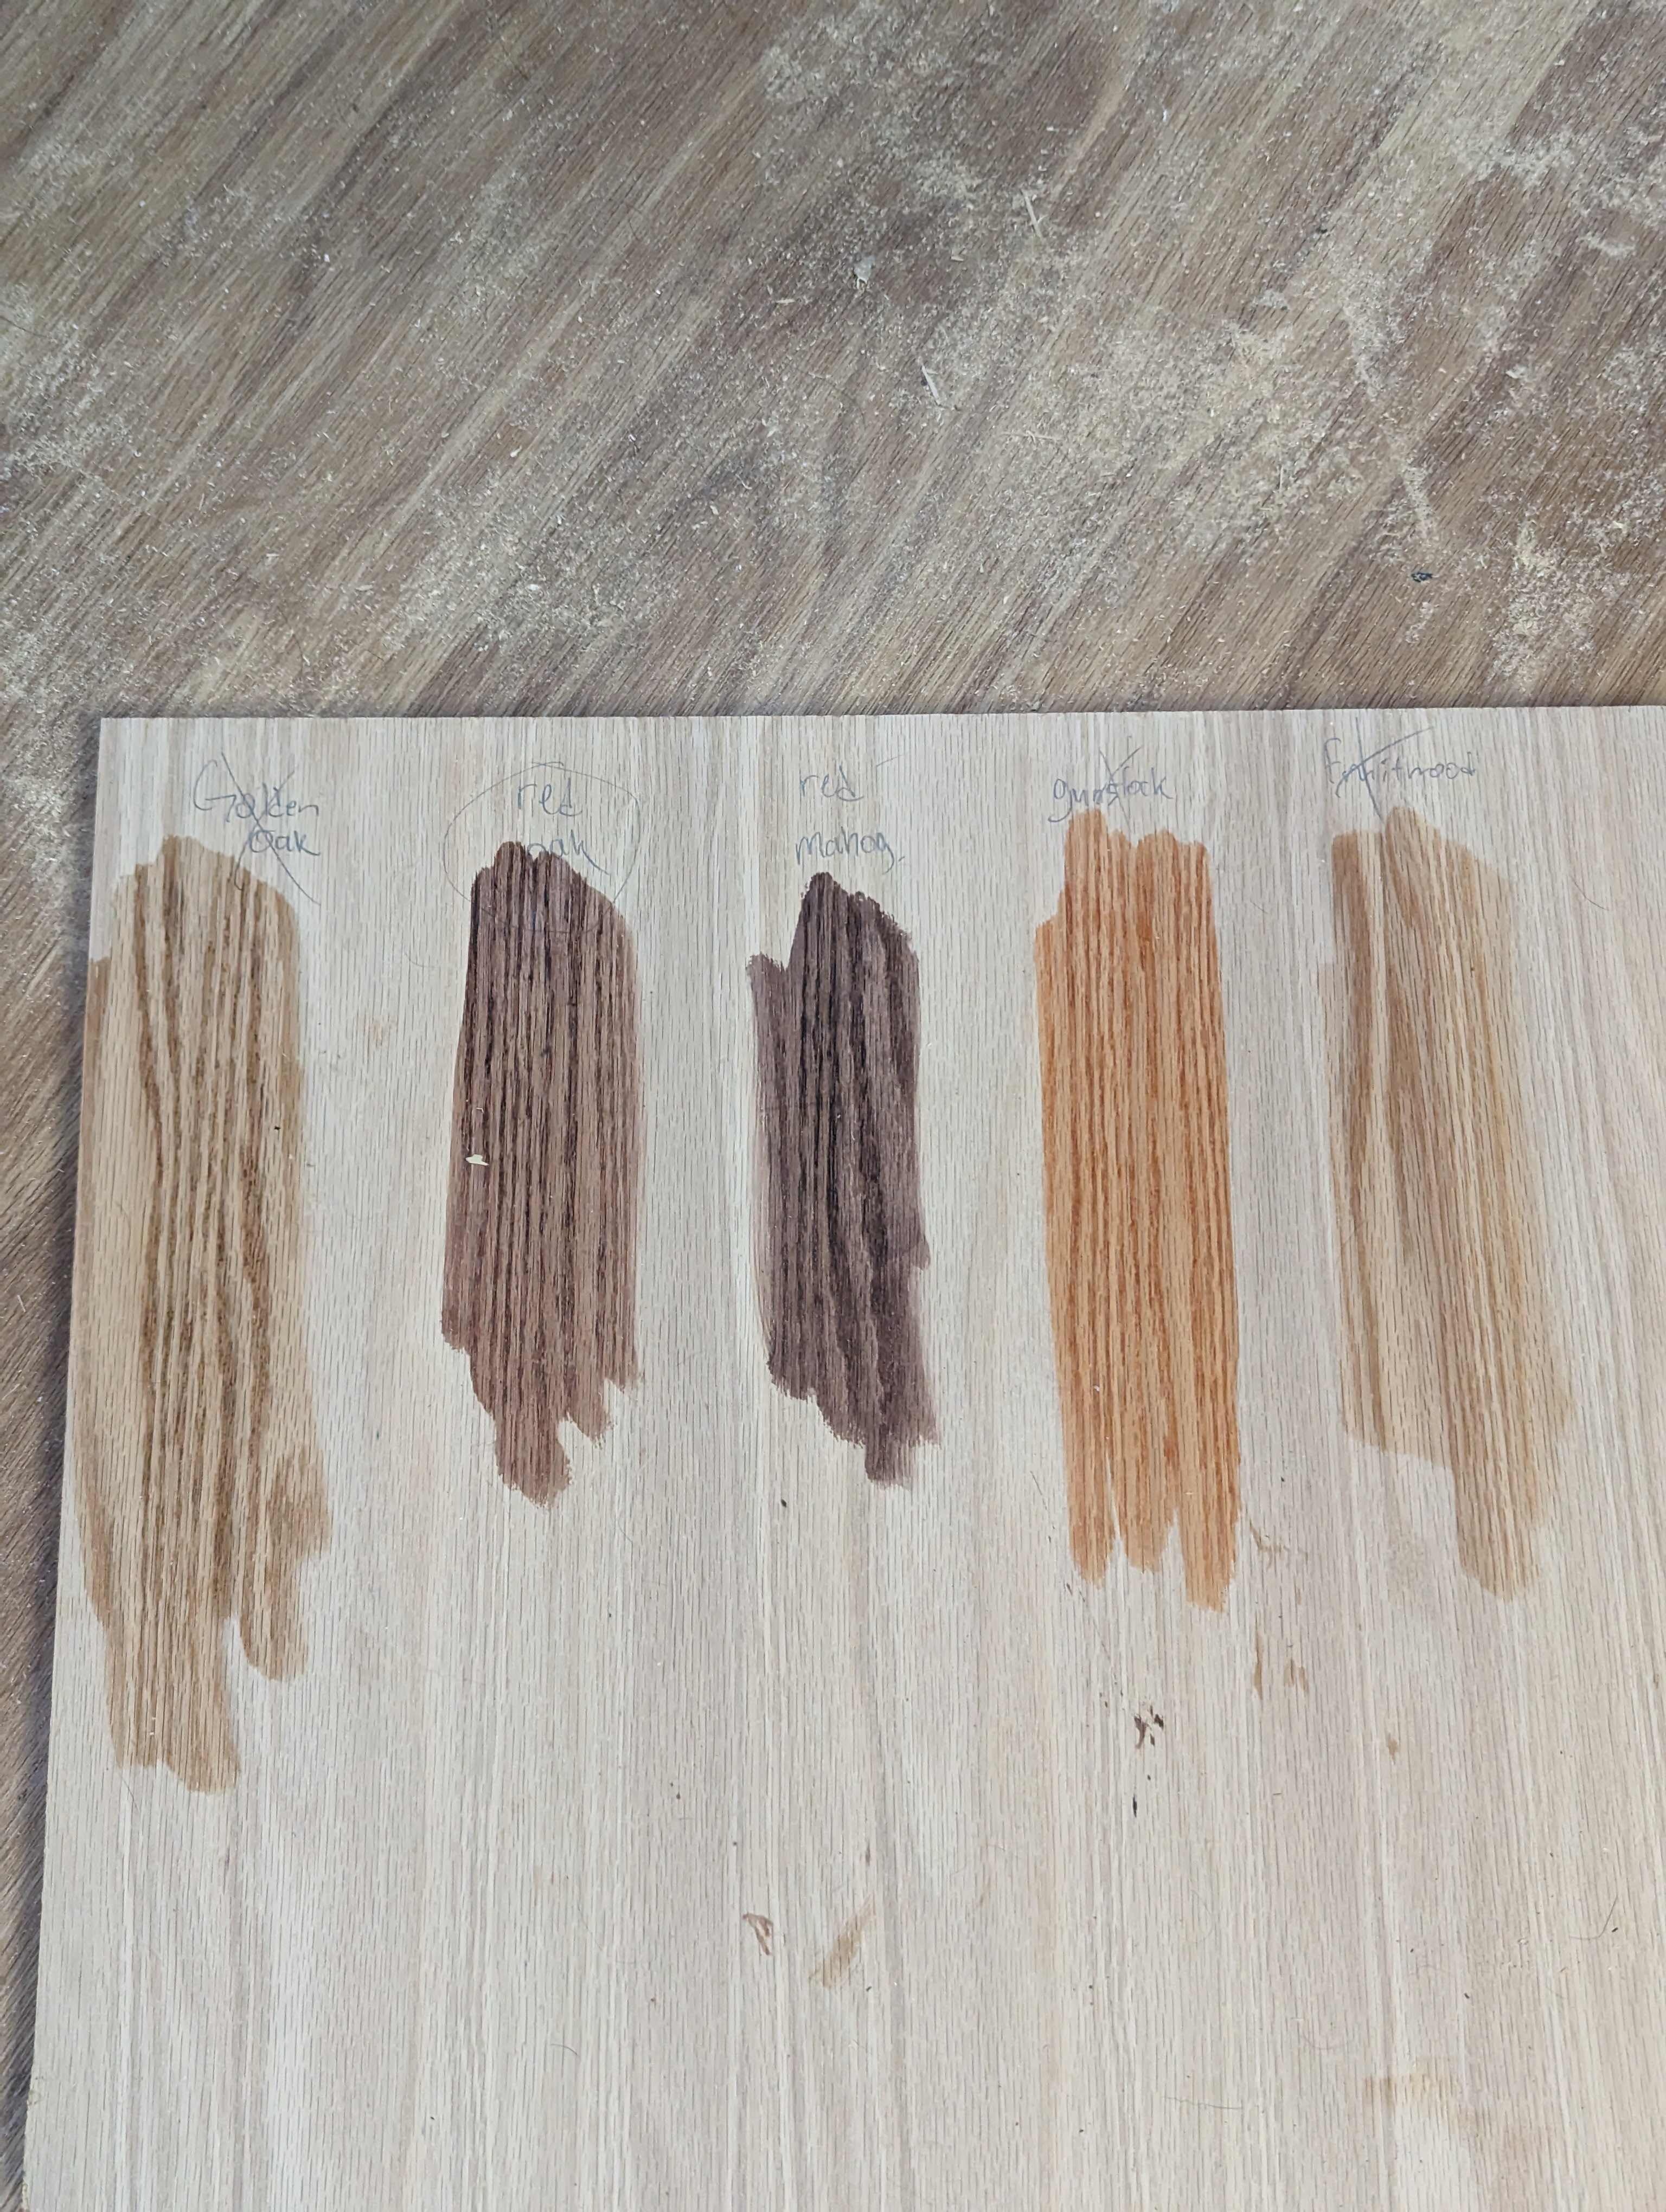
Hurray for test pieces!
We all agreed that Cheetos™ was the wrong color, and immediately eliminated it. The outermost two coolrs were too light, and the middle mahogany was too dark. Et voila, we had our color chosen. We brought all the pieces out to the garage for better access to fresh air, and stained. I would like to note that I’d wanted to put edge banding on the sides of the plywood, but was overruled. It turned out okay without.
Shelf pegs
My initial plan was to use this 3D printed jig for making the shelf pin holes, along with a borrowed drill press. I quickly discovered that, while this design would be perfect for an ad-hoc shelf or two, there was no way it was going to hold up to all the holes I needed drilled.
I went to the hardware store looking for the Kreg-branded jig, figuring it’d be a little pricey but I’d at least get solid results. They didn’t carry it, so I came home with an off-brand jig that used a spring-loaded drill bit holder to drill straight and shallow holes. It broke after about 5 holes. So I ordered the Kreg one off Amazon and was able to get it overnighted.
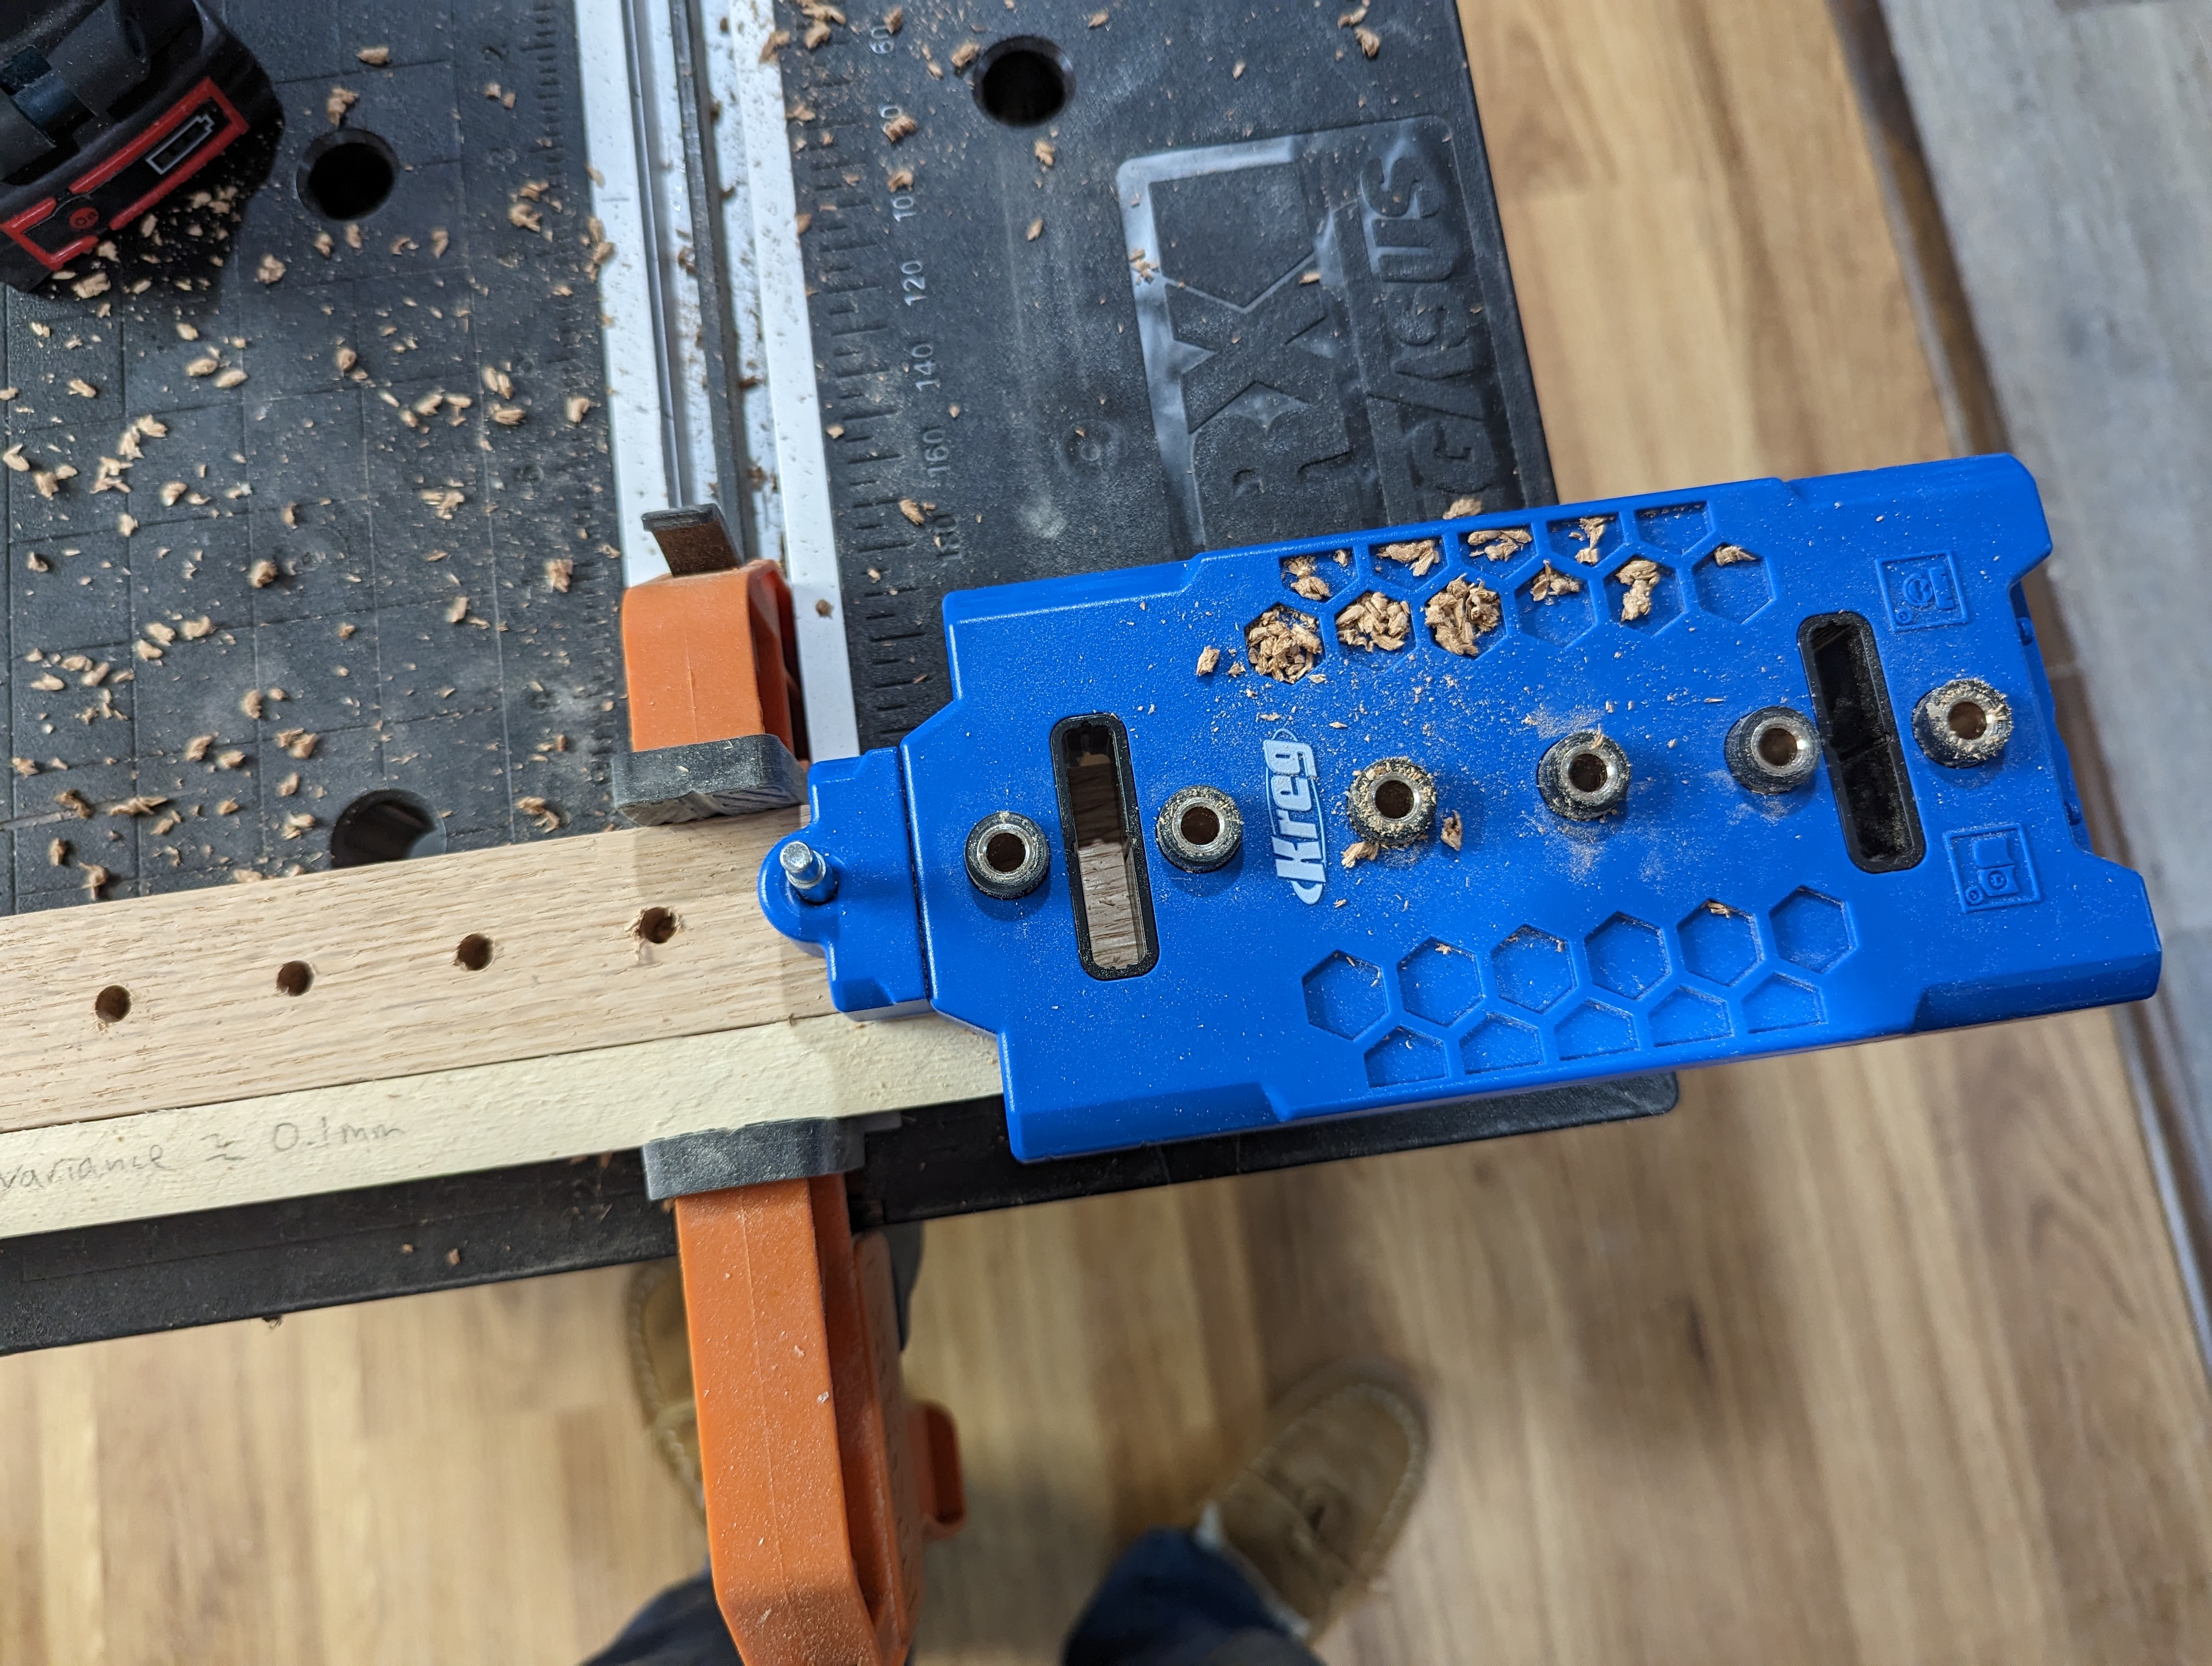
Had to use a shim to keep it centered.
It worked…reasonably well, although clamping it was a challenge with the clamps I had. About half the time I ended up just carefully holding it while I drilled.
Assembly
With everything drilled and stained, it was time to assemble! I used pocket screws for everything except the 4x4 – that I used 3-1/2" wood screws driven in from the top. Wanted a bit of extra certainty, and had some color-matched wood filler I needed an excuse to try out (it worked well).
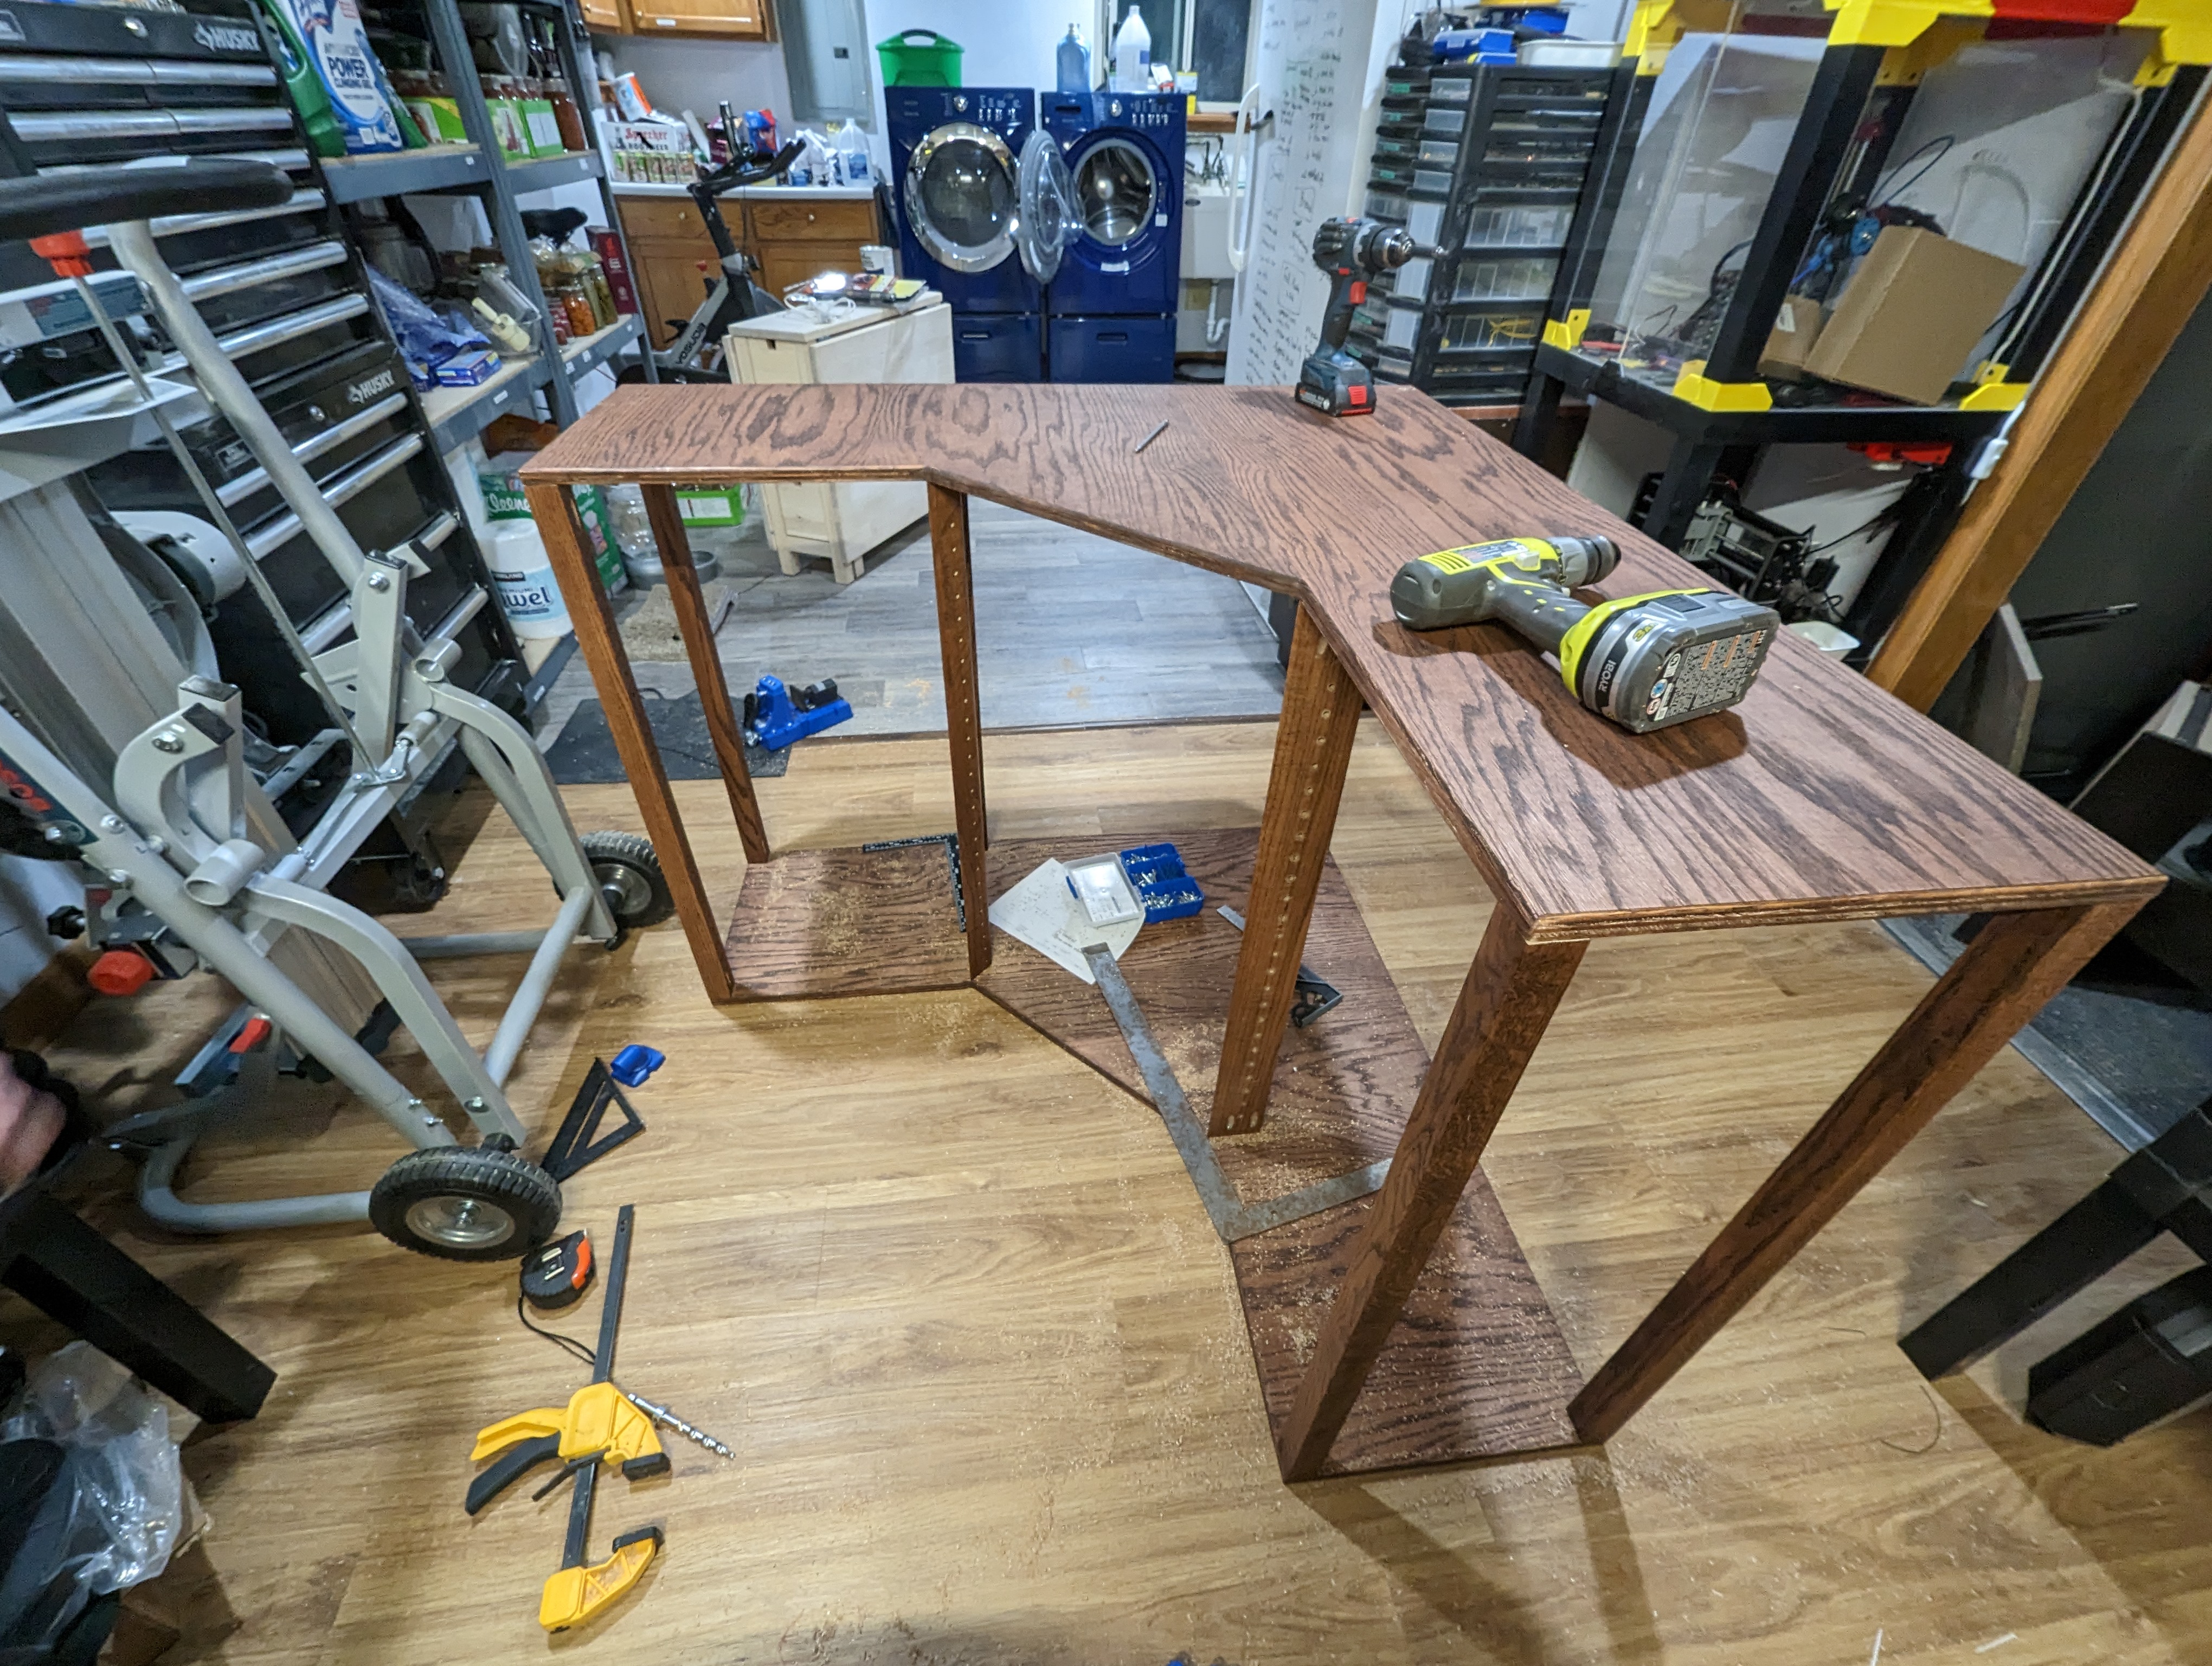
All put together!
Always stressful putting it together and hoping that everything fits & you didn’t mess anything up. I made judicious use of the framing square to ensure everything lined up and was, well, square.
With assembly out of the way, it was time to move it up for polyurethane.
…um…about that.
I didn’t measure everything
Yeah, I couldn’t get it out of my shop. Back apart it came.
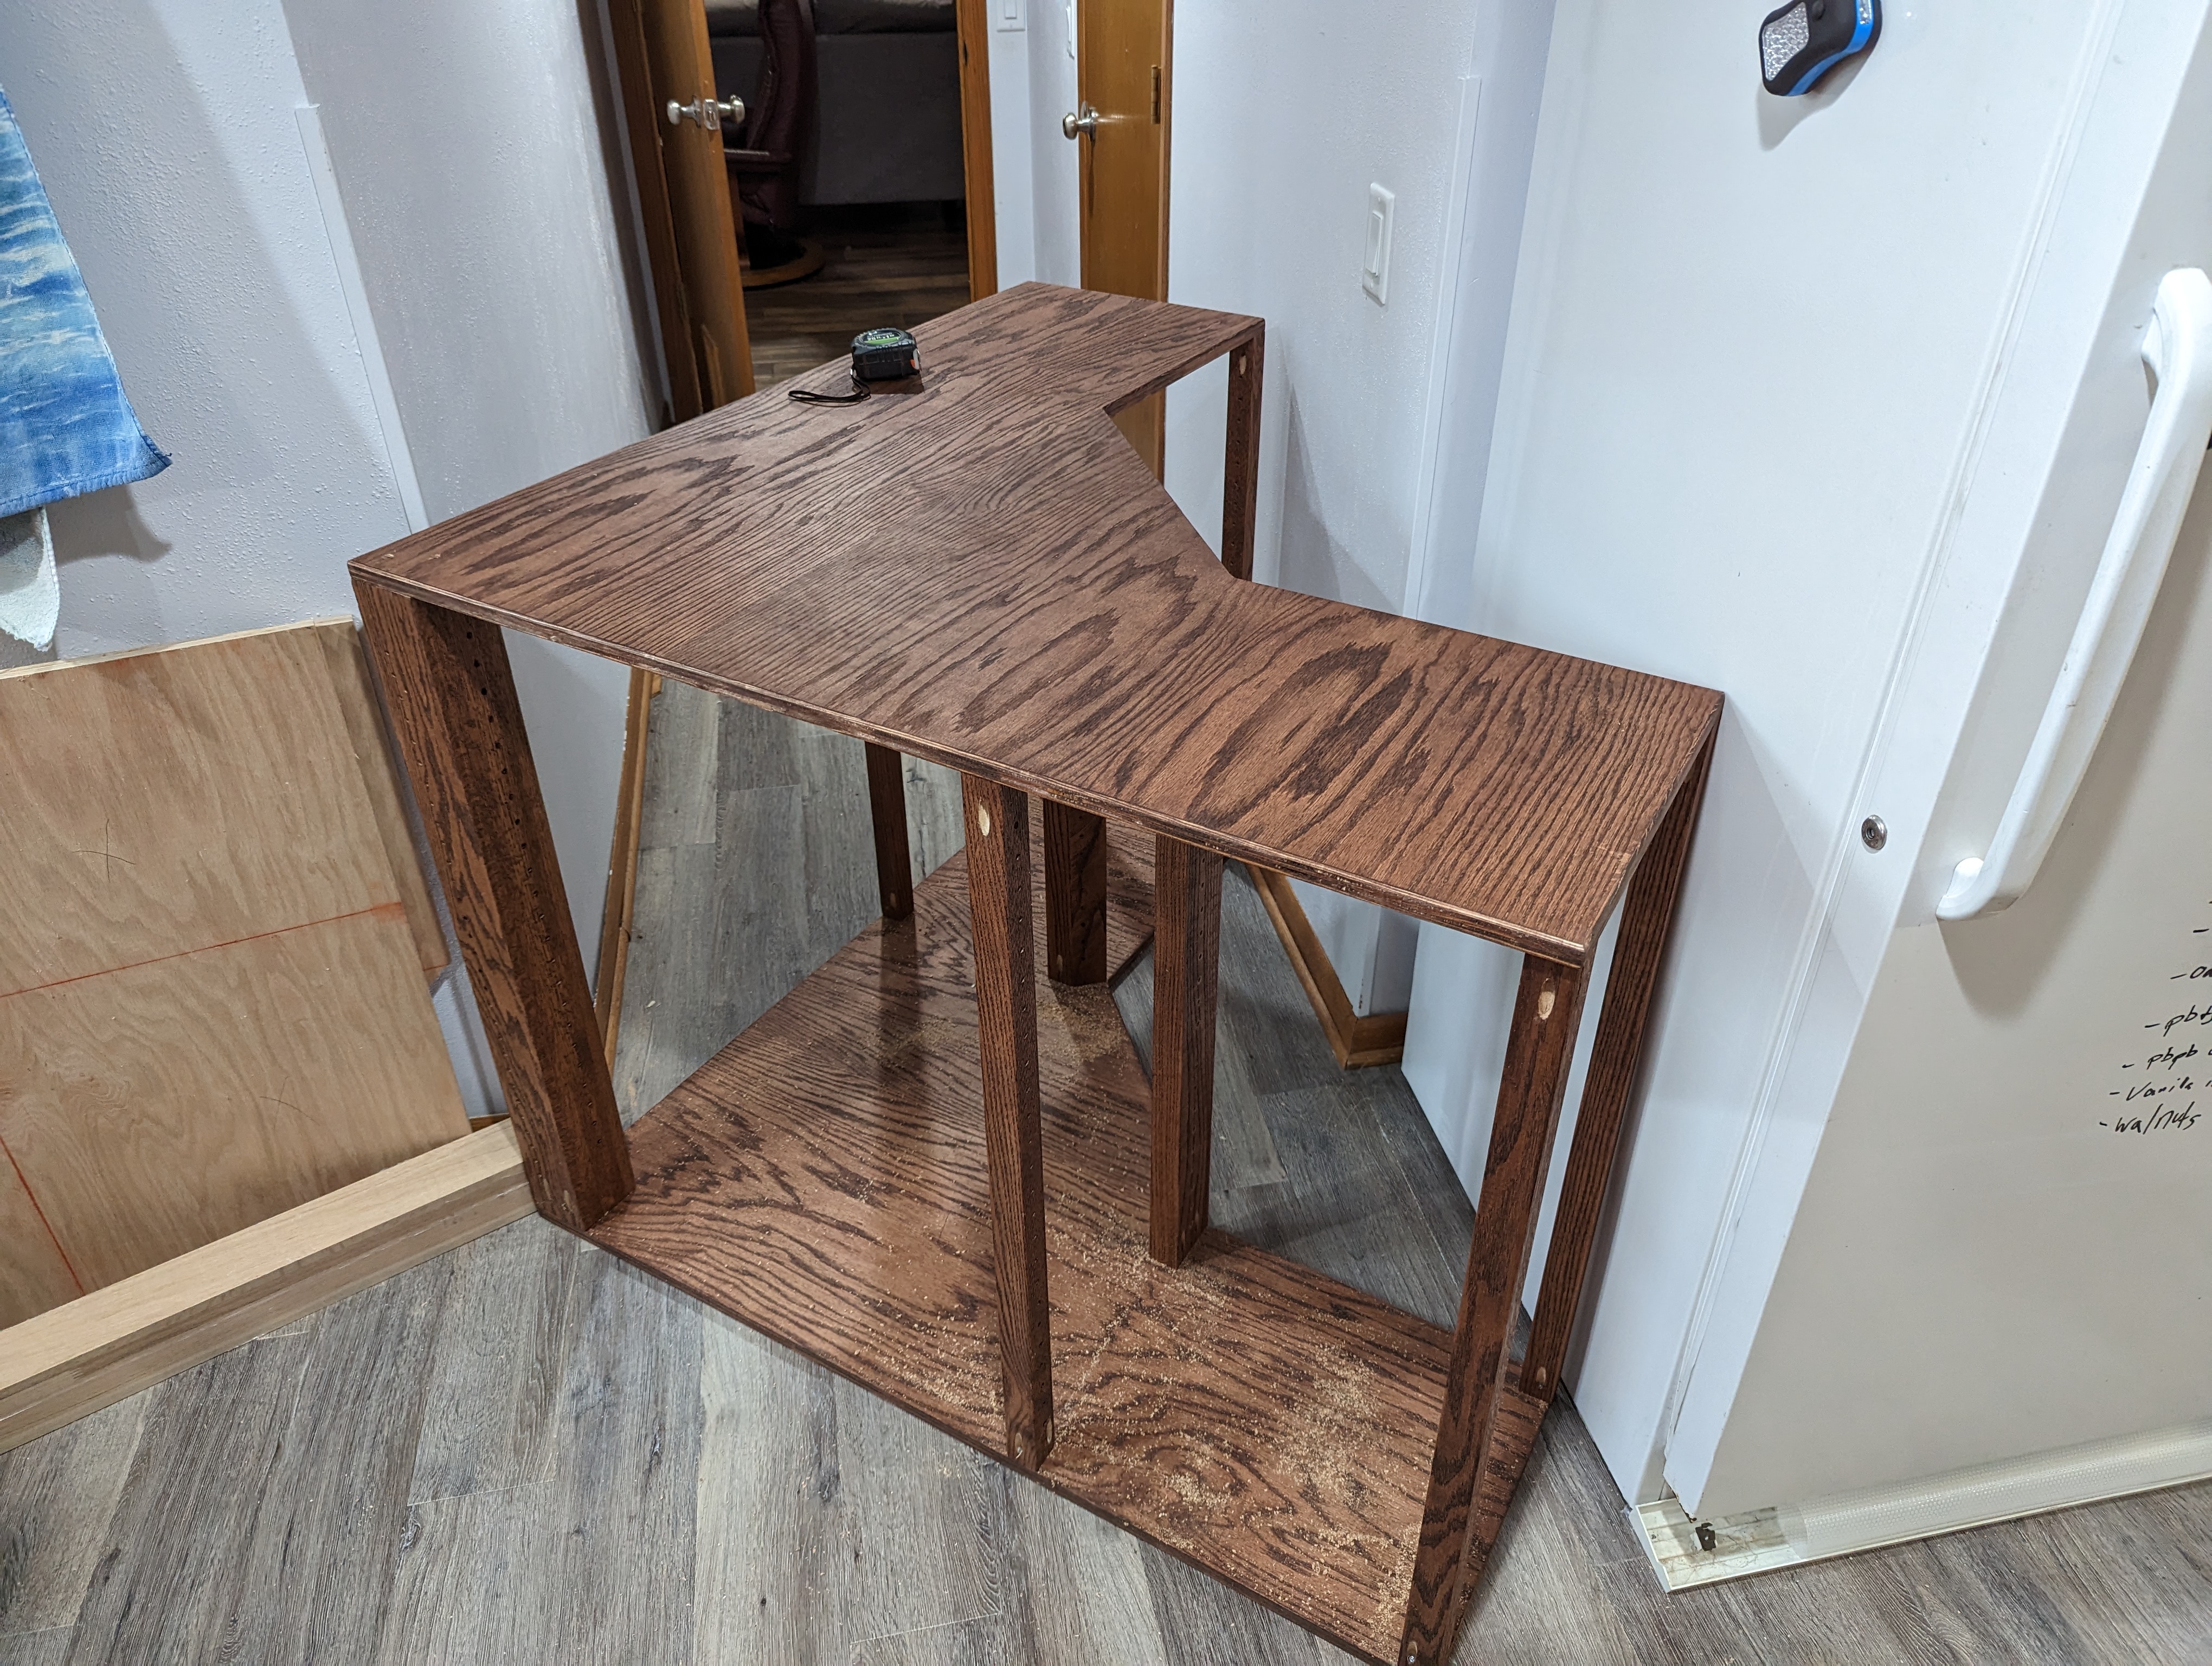
Assembly, again
I carefully took it apart, made sure to mark what went where, and reassembled it in place upstairs. Now assembled, my wife was in charge of poly. I measured carefully for shelves.
We’ve had first assembly, yes, but what about second assembly?
Shelves
The side shelves were fairly straightforward – they’re just rectangles, and all I wanted to do was confirm measurements before cutting.
The center shelves, however, were going to be more complicated. So I started in easy mode, with some cardboard:
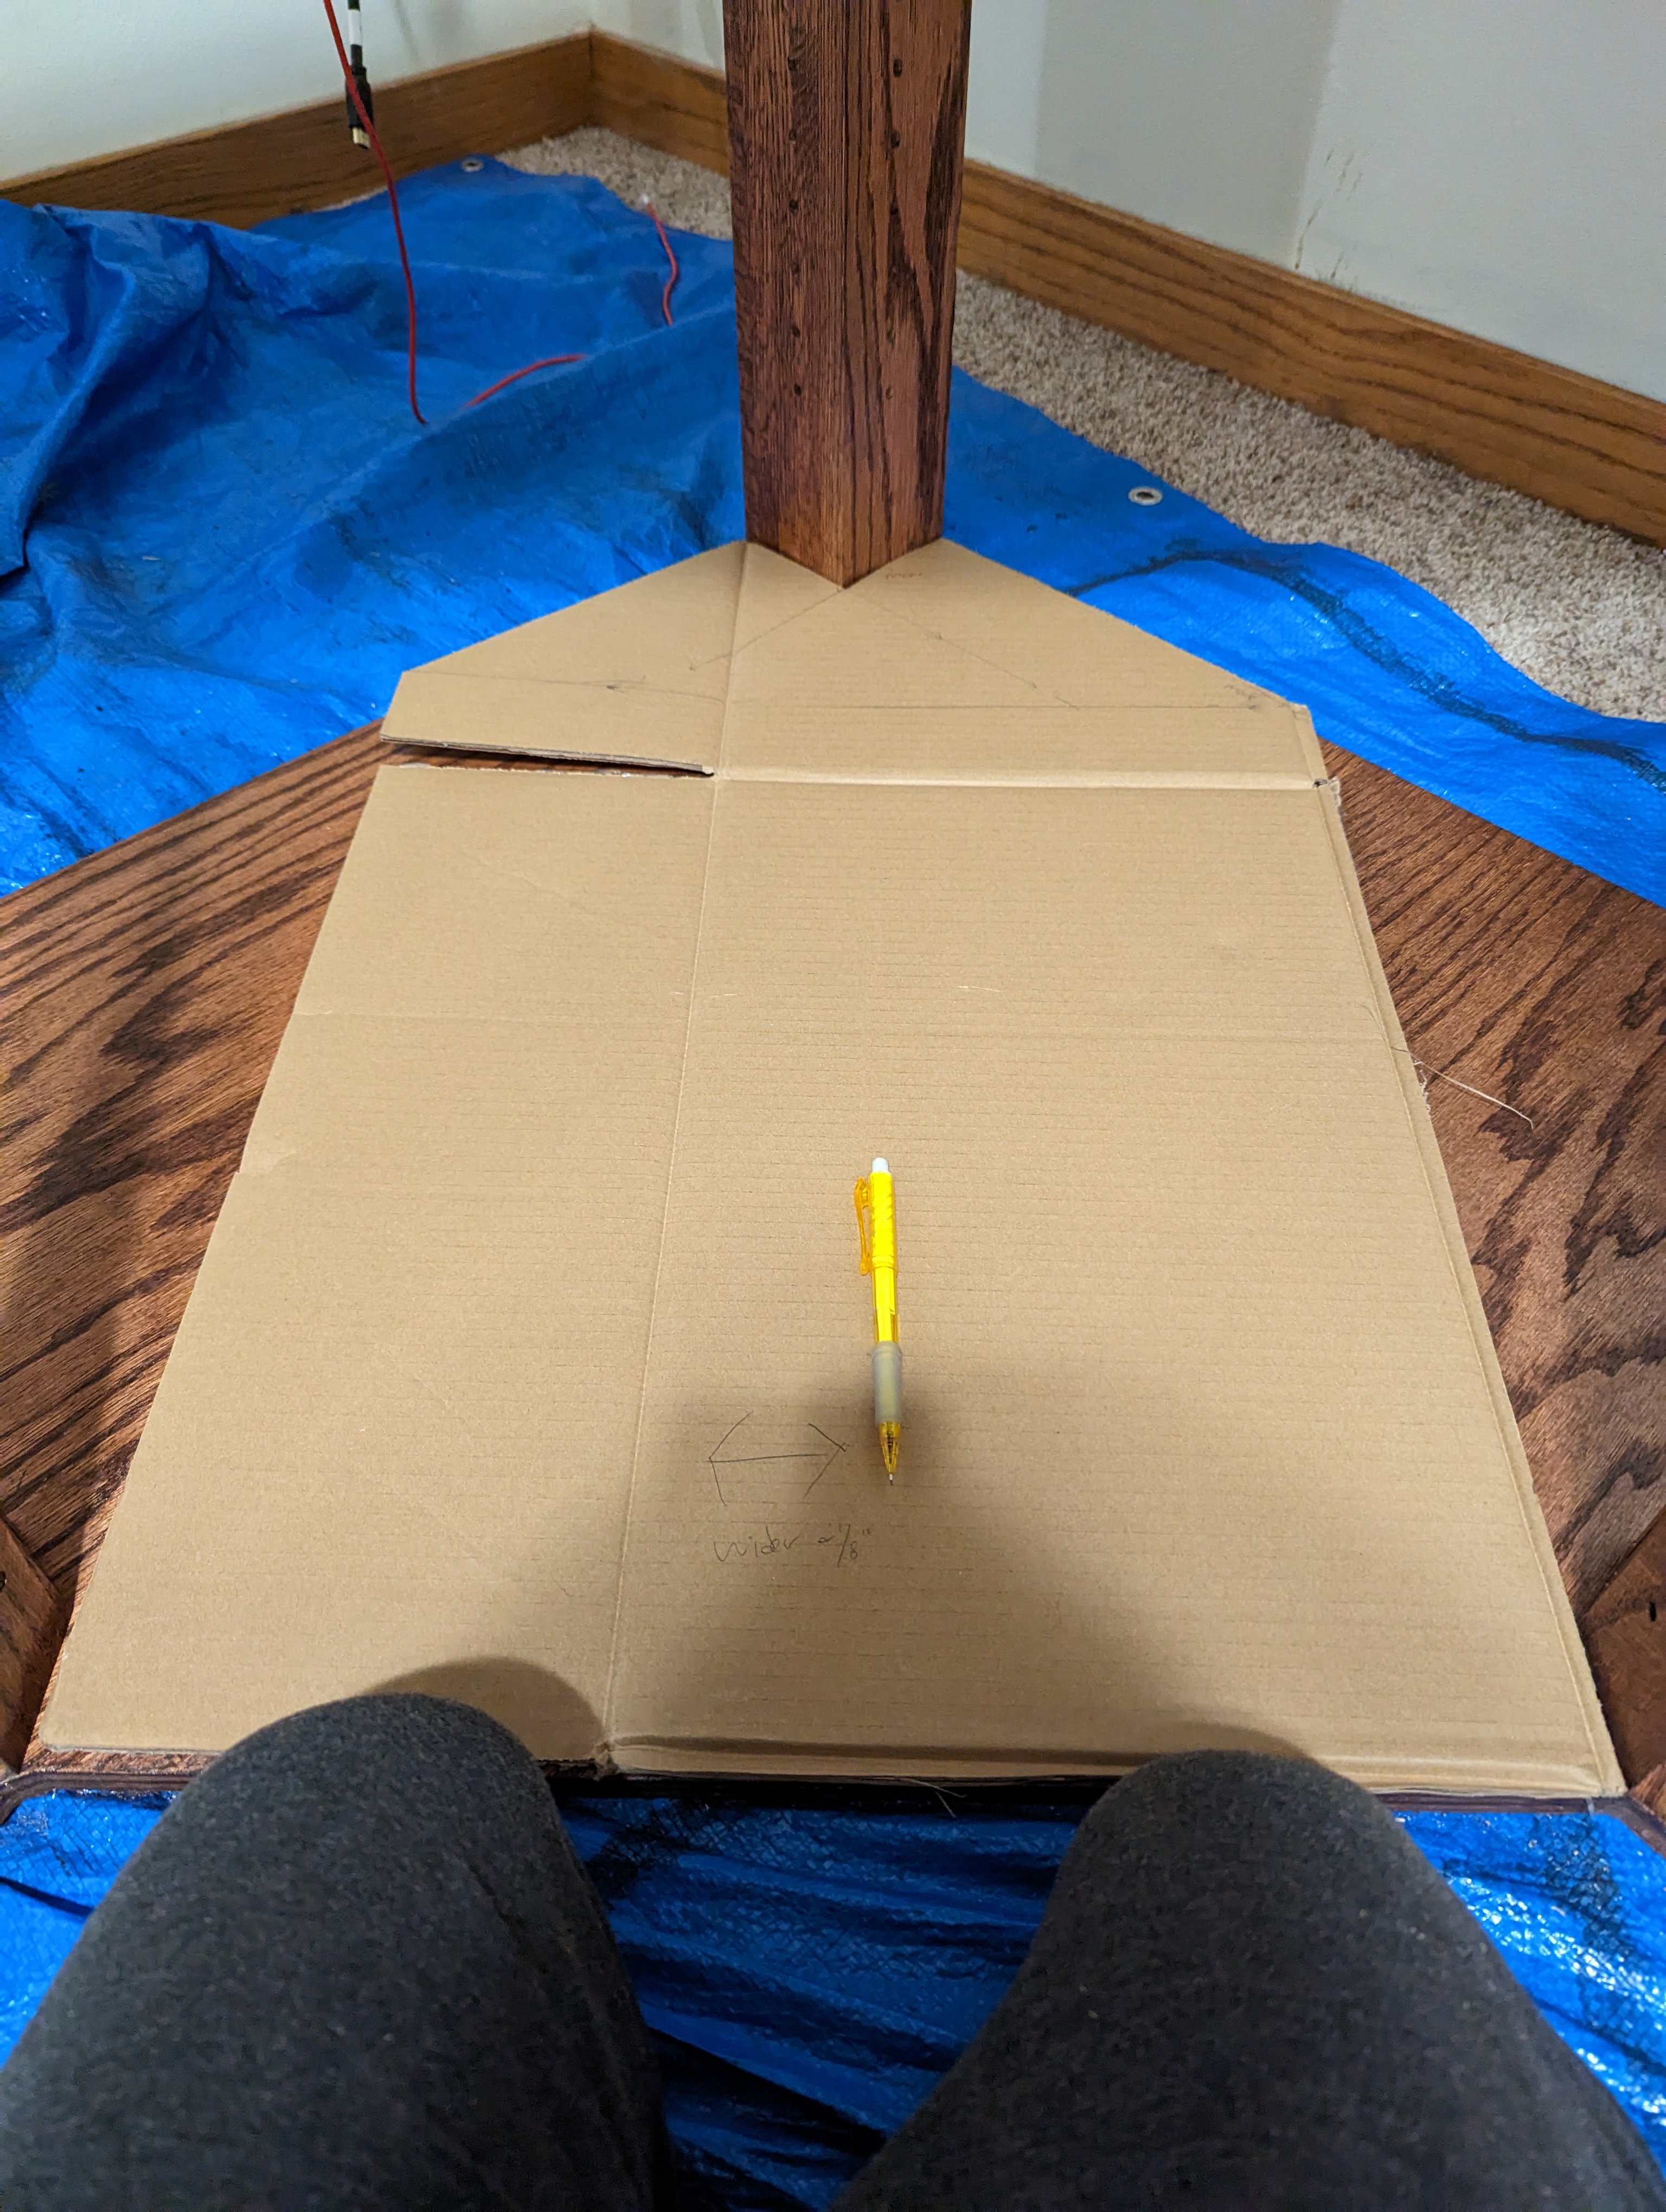
While not perfect, it let me validate my measurements, my plan, and then have a template to trace for the initial wooden shelf. I used the circular saw to get close on the angled pieces, and then used the flush-cut bit on my router with a straightedge to finish it up.
Then, with all the shelves, I rough-cut them and then flush-cut them to be identical.
Finally, sand/stain/poly by my wonderful assistant-wife.
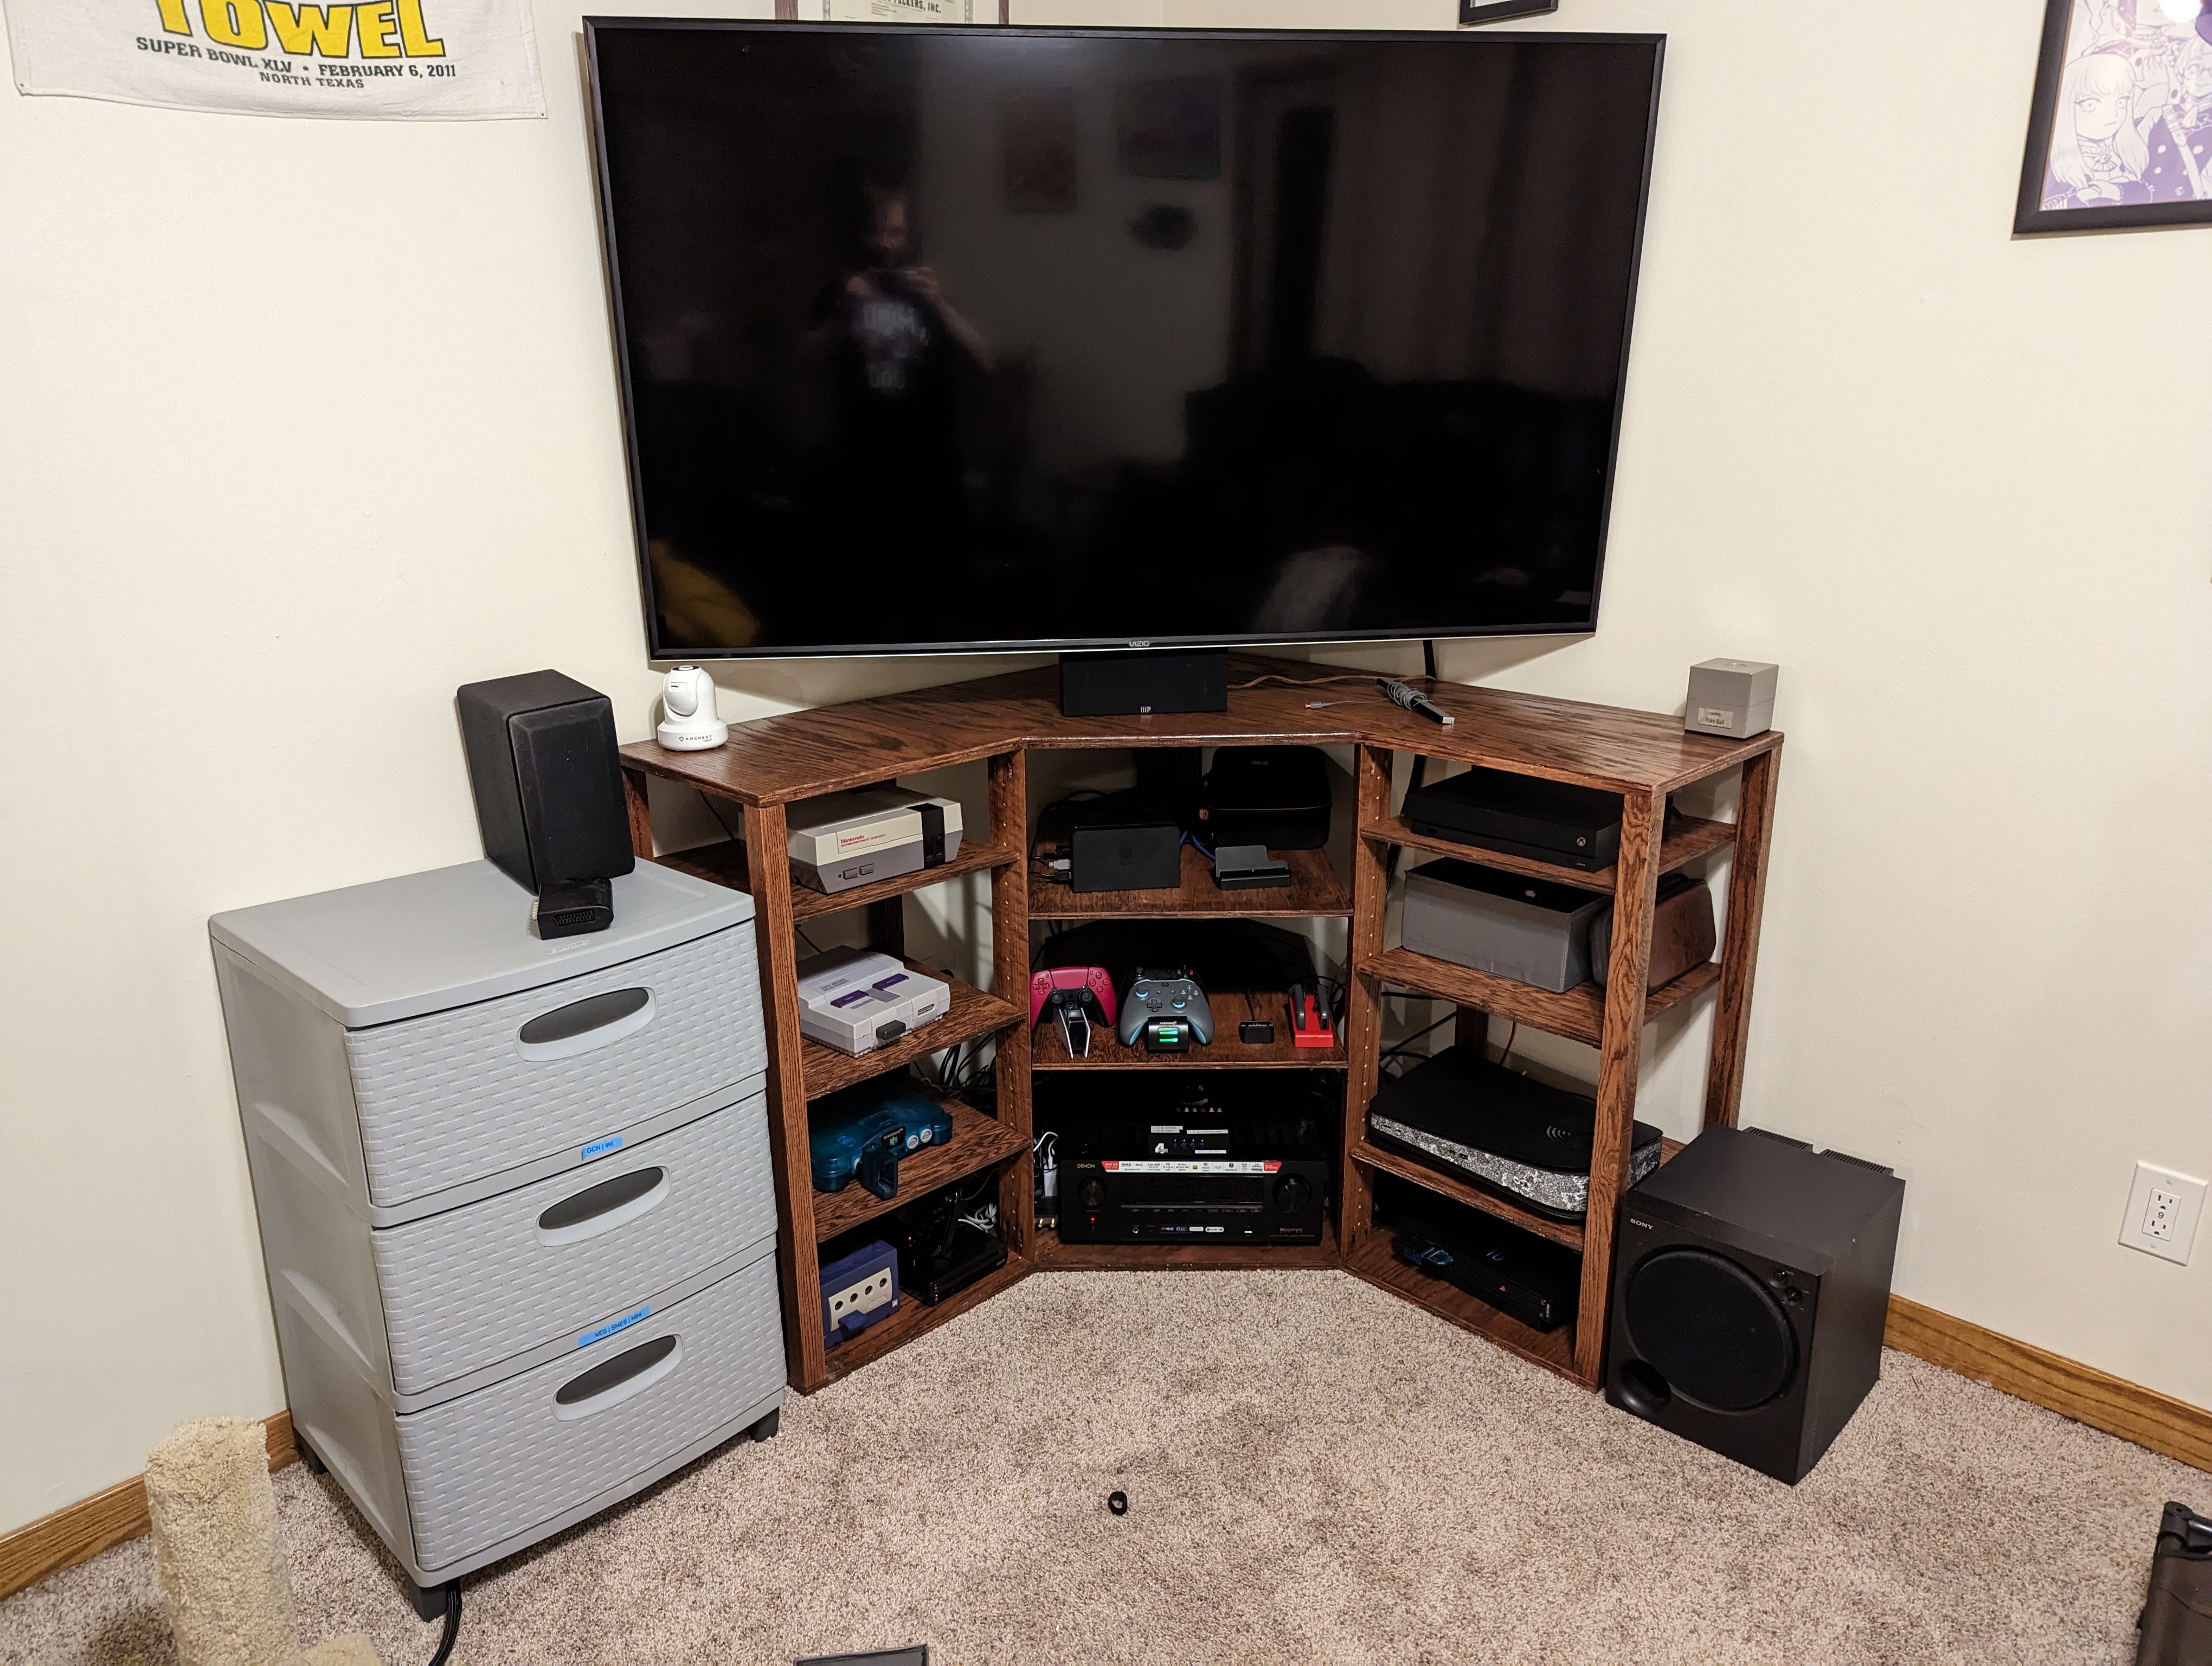
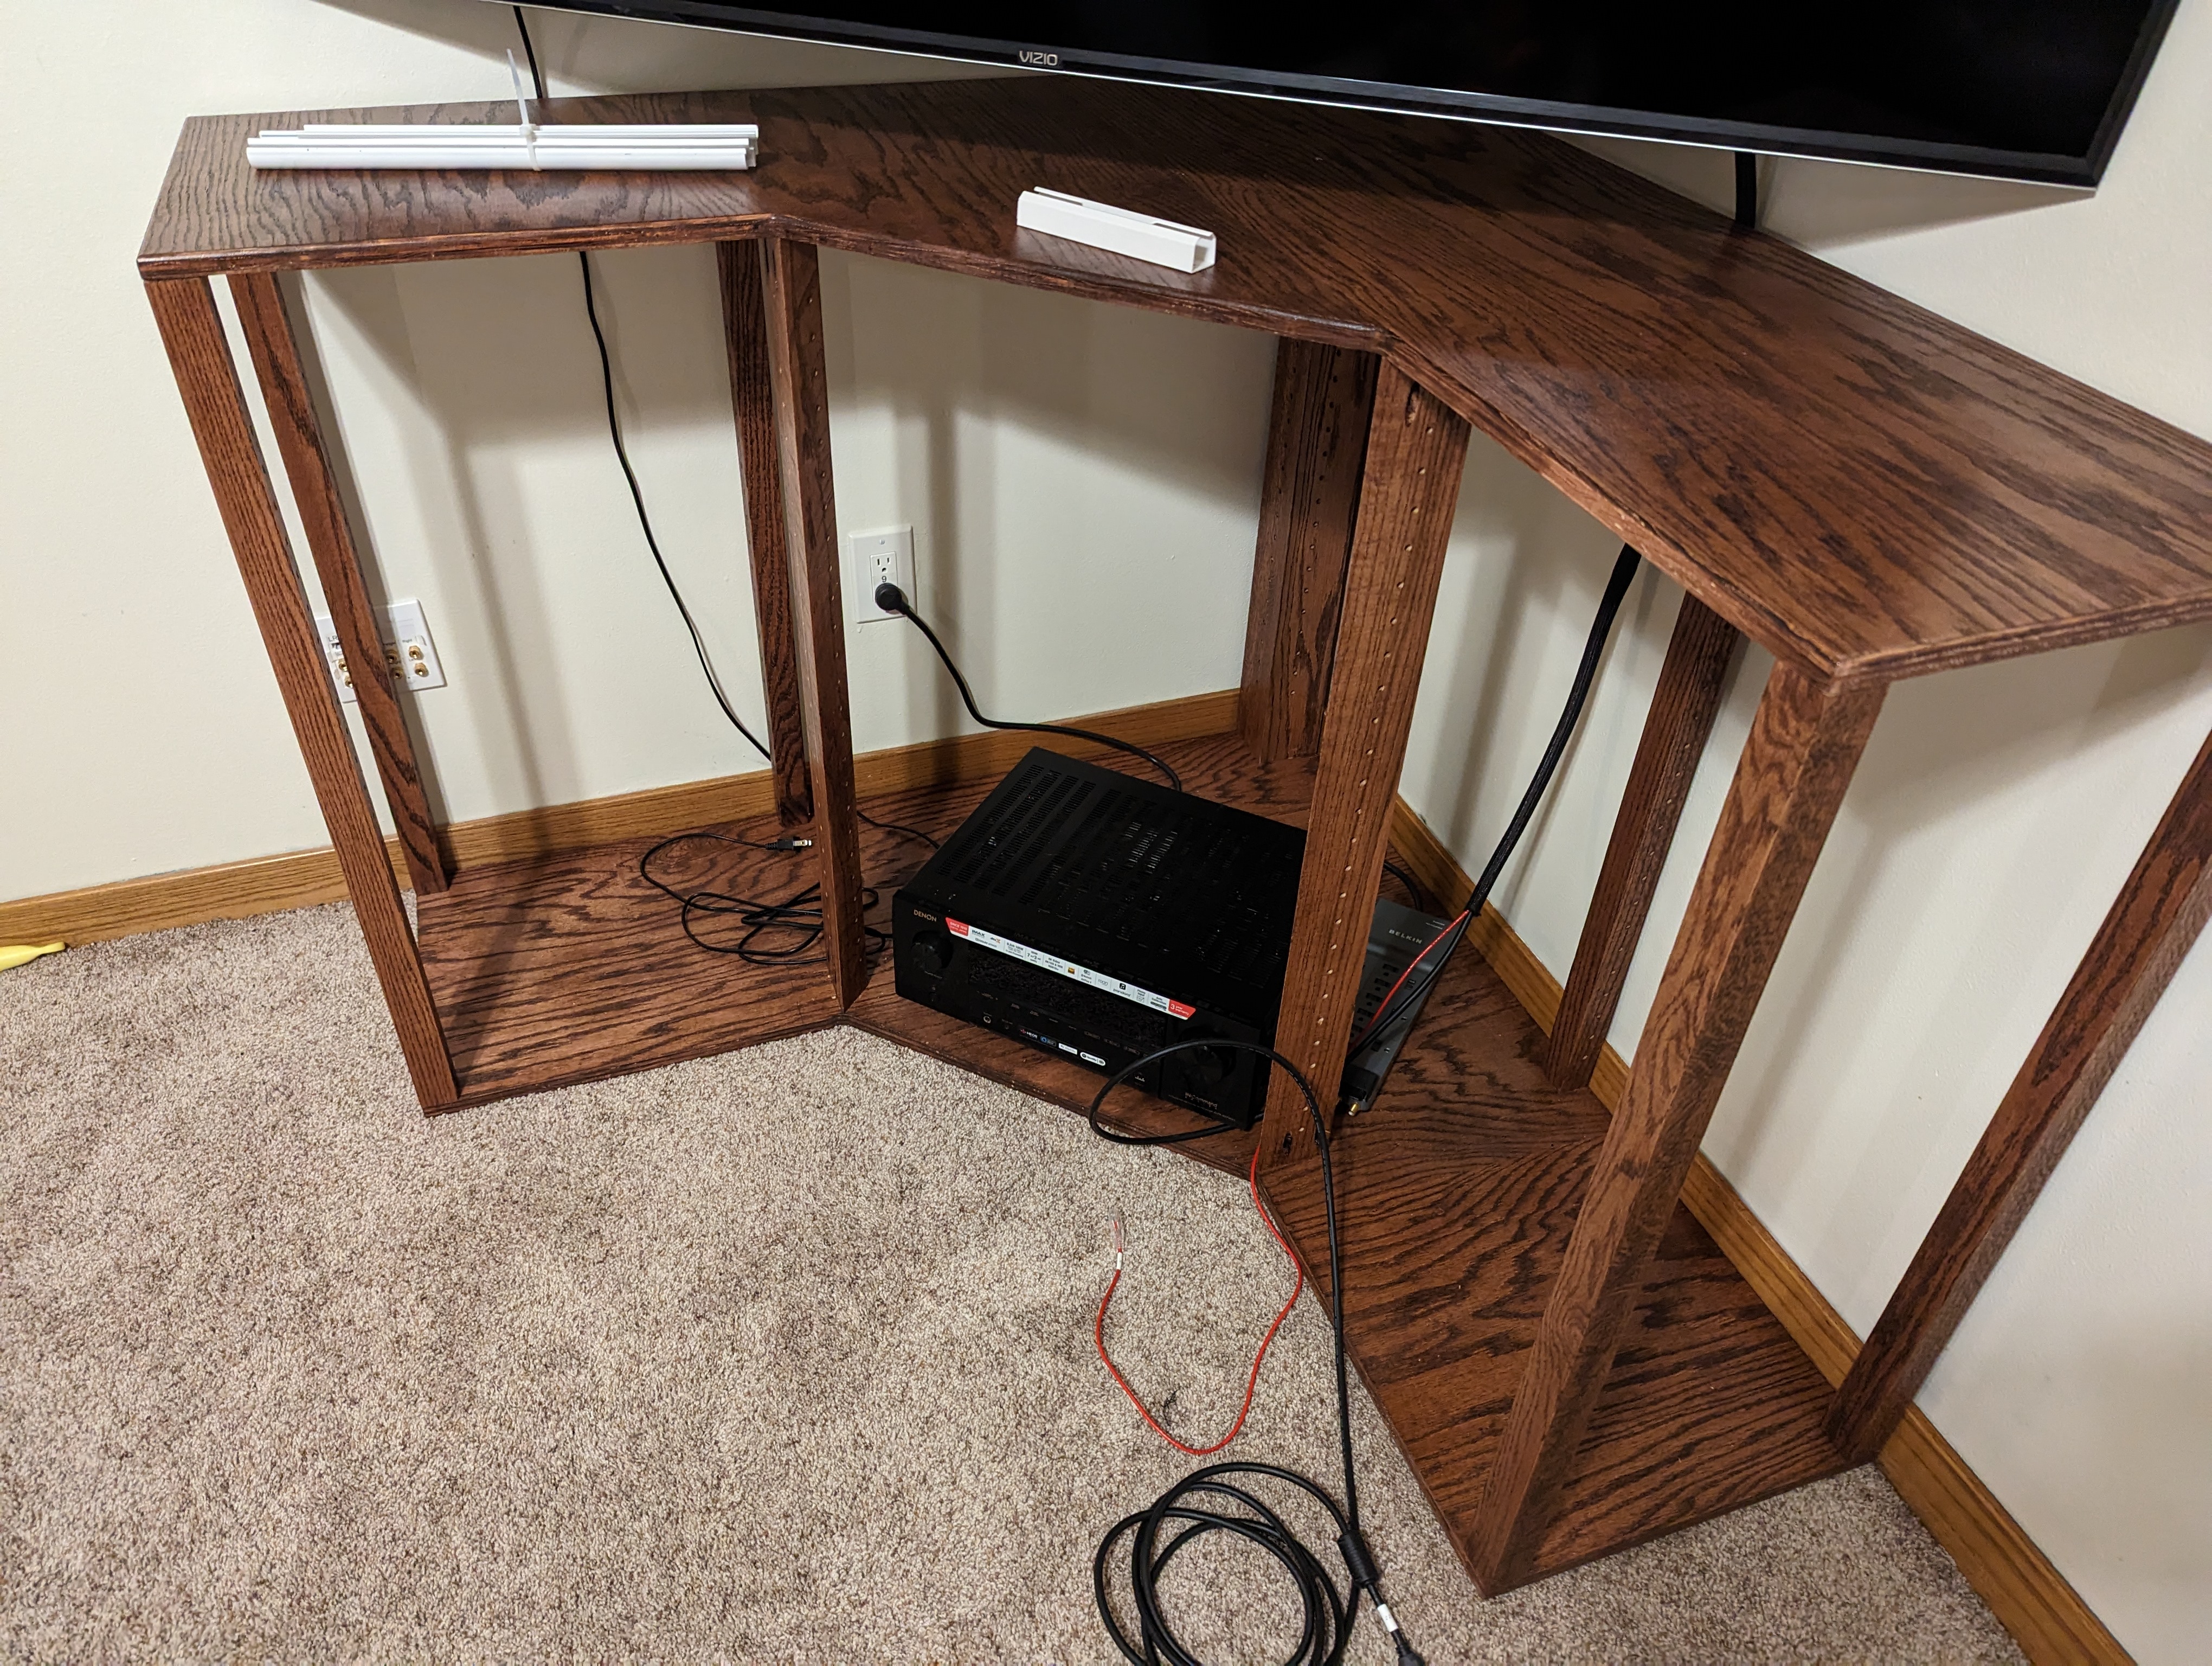
Finished product

There she is. A couple of things that aren’t perfect that I’d adjust for next time:
- I neglected to account for the width of the shelf pegs. I should’ve trimmed the width of each shelf slightly.
- Somehow, someway, some of the shelf peg holes didn’t line up with their neighbors. I’m still not sure how this happened.
I also had to be mindful of the shelves moving. I dumped my Xbox Series X on my lap while putting it in. So about half the shelves got rubber feet, and the other half are screwed into the pegs. No rhyme nor reason for which was which.
Future work
Cable management. Lots of it. It’s a rat’s nest back there. I’m still unsure of a great way to handle cables here, but at least some velcro and snakeskin would help.